

Contacts
Contacts are the people in your organization who receive phishing simulation emails. Managing your contacts accurately is essential for running effective campaigns.
5.1 Contacts List
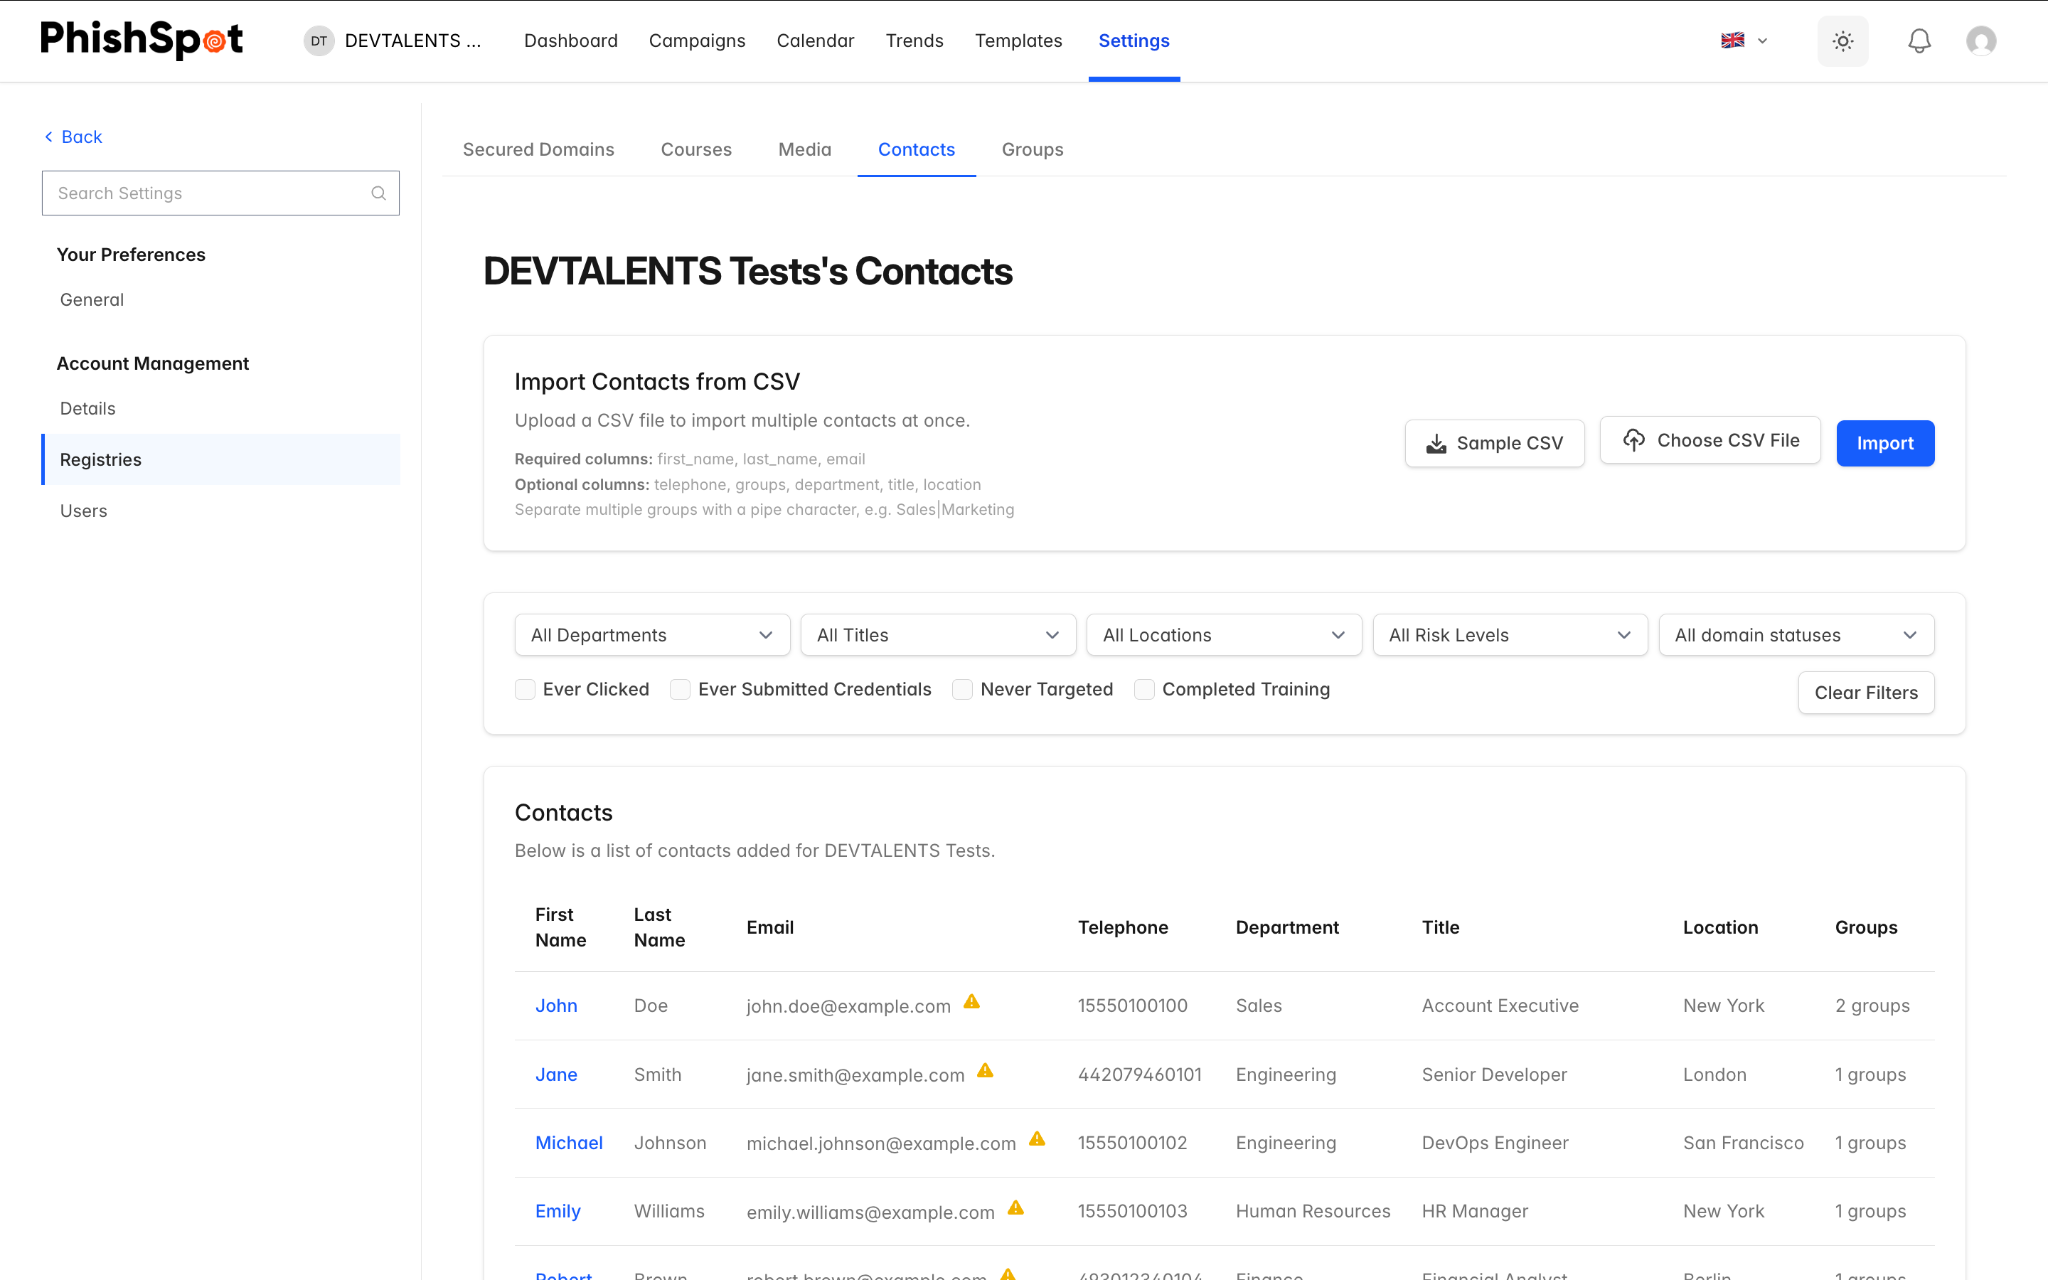
Section titled “5.1 Contacts List”Navigate to Settings → Contacts from the sidebar. The contacts list displays all contacts in your account with the following columns:
| Column | Description |
|---|---|
| First Name | Contact’s first name (clickable to view details) |
| Last Name | Contact’s last name |
| Email address (with a warning icon if the domain is unverified) | |
| Telephone | Phone number (optional) |
| Department | Department the contact belongs to |
| Title | Job title |
| Location | Office or location |
| Groups | Number of groups the contact belongs to |
| Risk Score | Color-coded risk assessment (green = low, yellow = medium, orange = high, red = critical) |
| Performance | Click rate: how many campaigns they clicked vs. were targeted |
| Created At | When the contact was added |
5.2 Filtering Contacts
Section titled “5.2 Filtering Contacts”The contacts list includes a filter bar at the top that lets you narrow down the list by:
-
Department
-
Title
-
Location
-
Special status filters such as: ever clicked a phishing link, ever submitted data, never targeted, or completed training
5.3 Adding a Single Contact
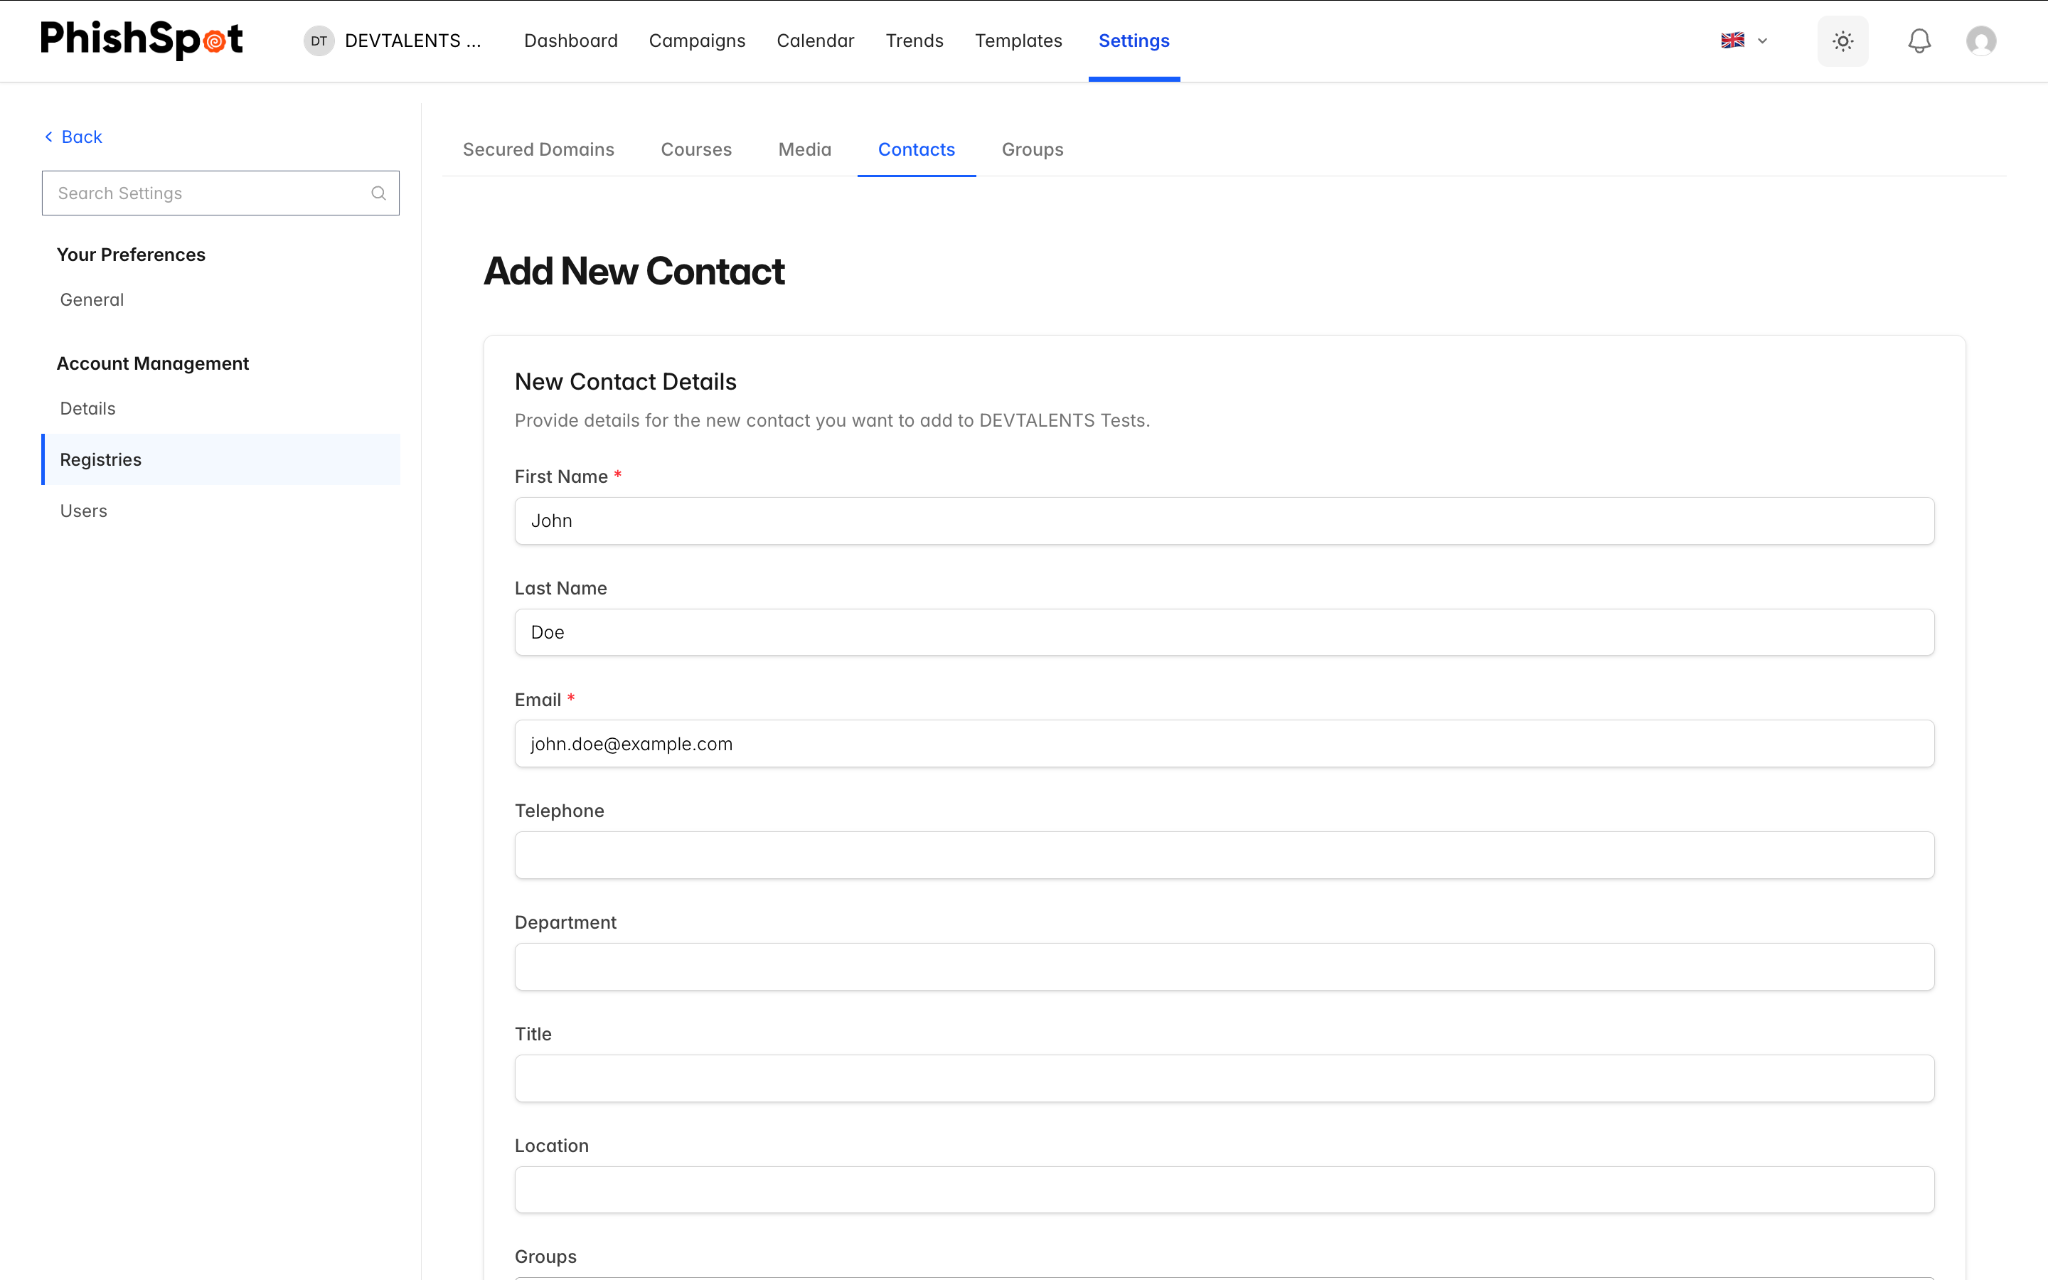
Section titled “5.3 Adding a Single Contact”Click the New Contact button to add a contact manually. Fill in the following fields:
-
First Name and Last Name — Required.
-
Email — Required. Must be a valid email address.
-
Telephone — Optional.
-
Department, Title, Location — Optional fields for categorization and filtering.
-
Groups — Assign the contact to one or more groups.
5.4 Importing Contacts via CSV
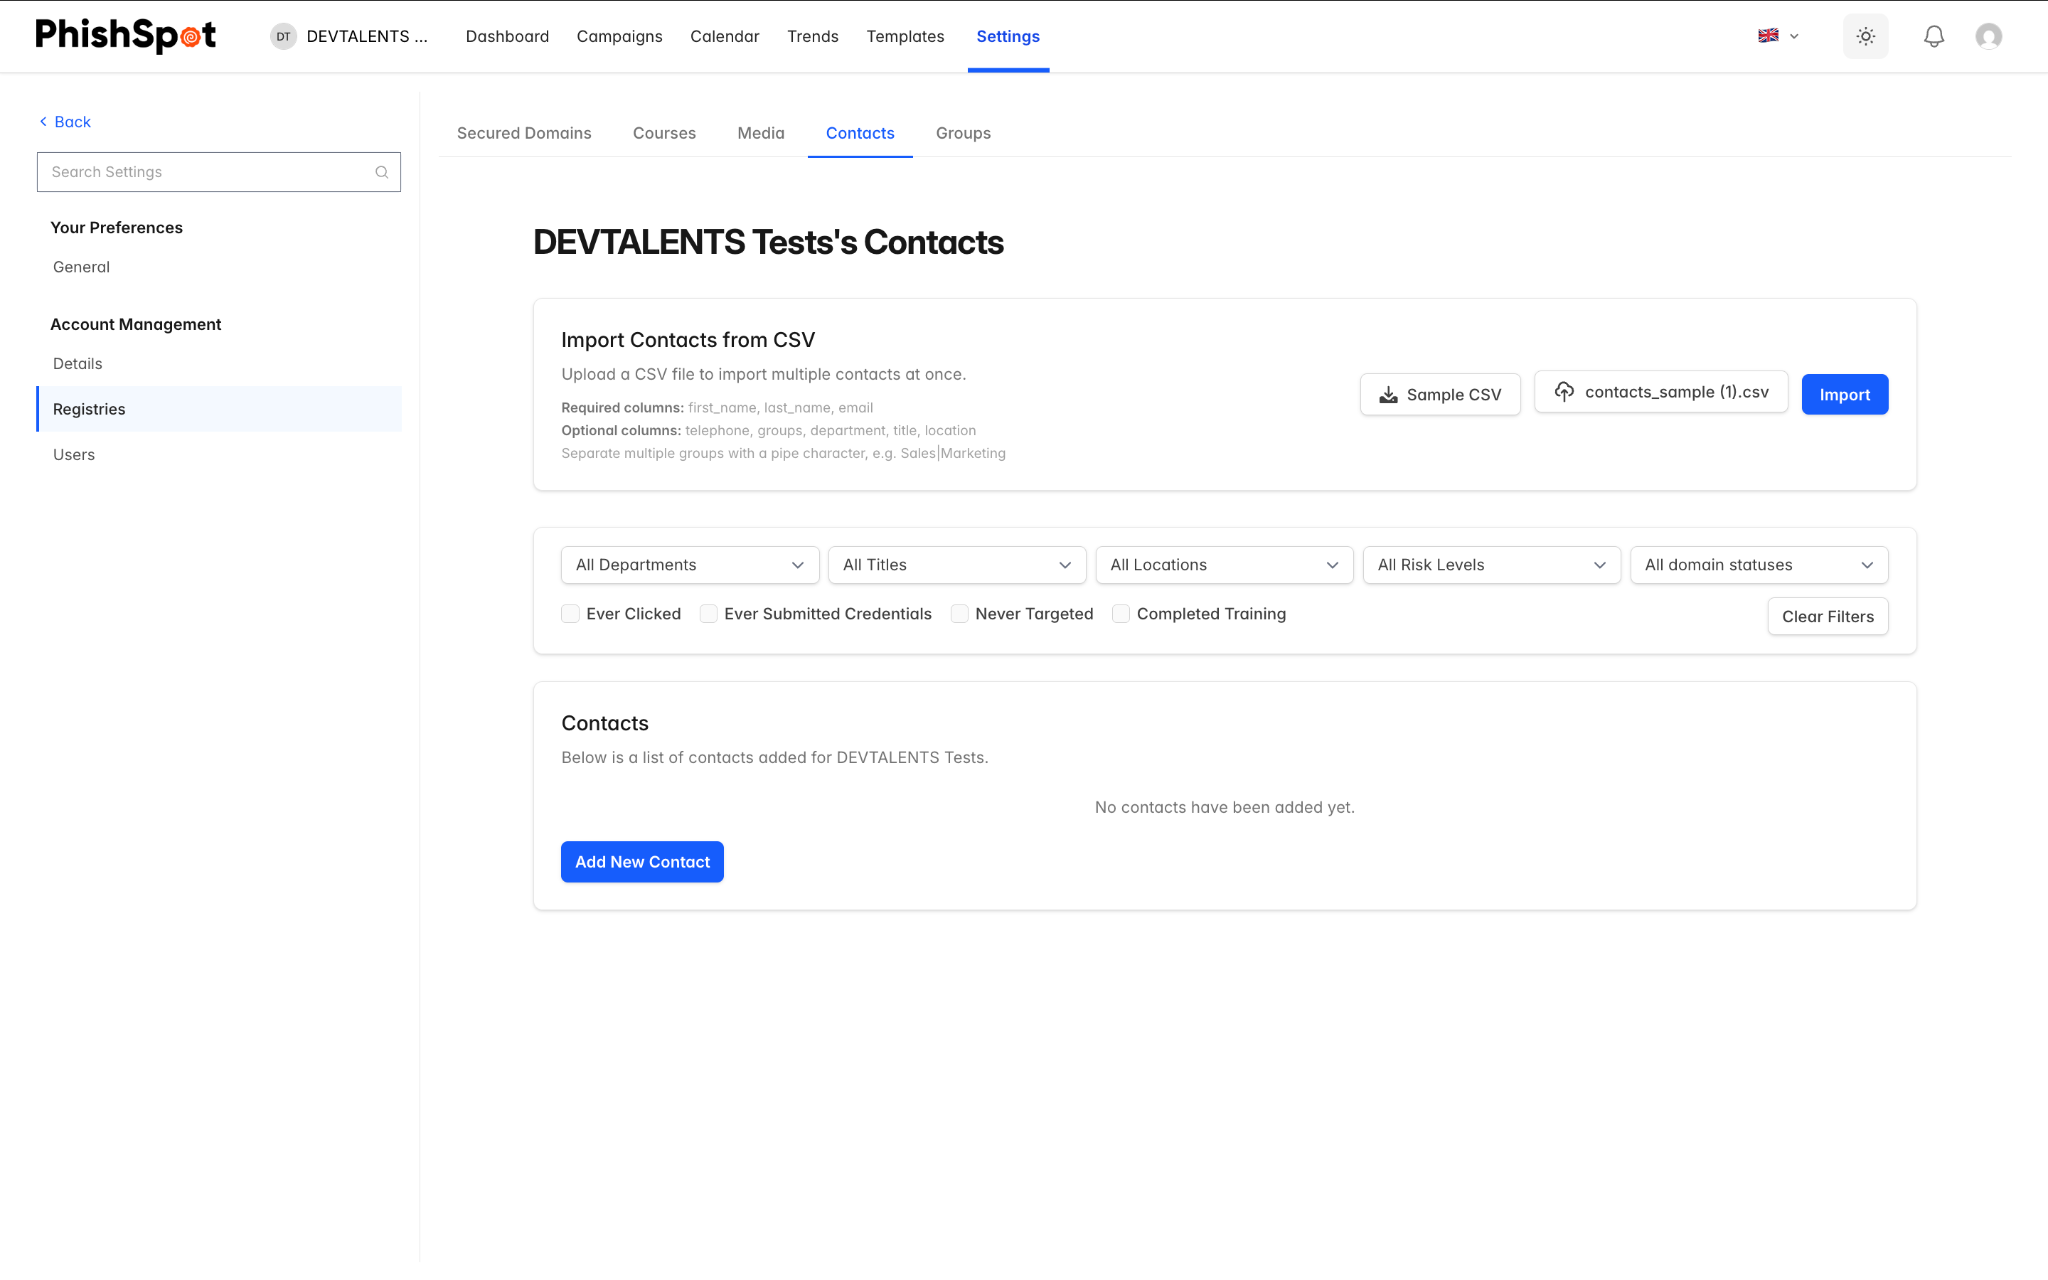
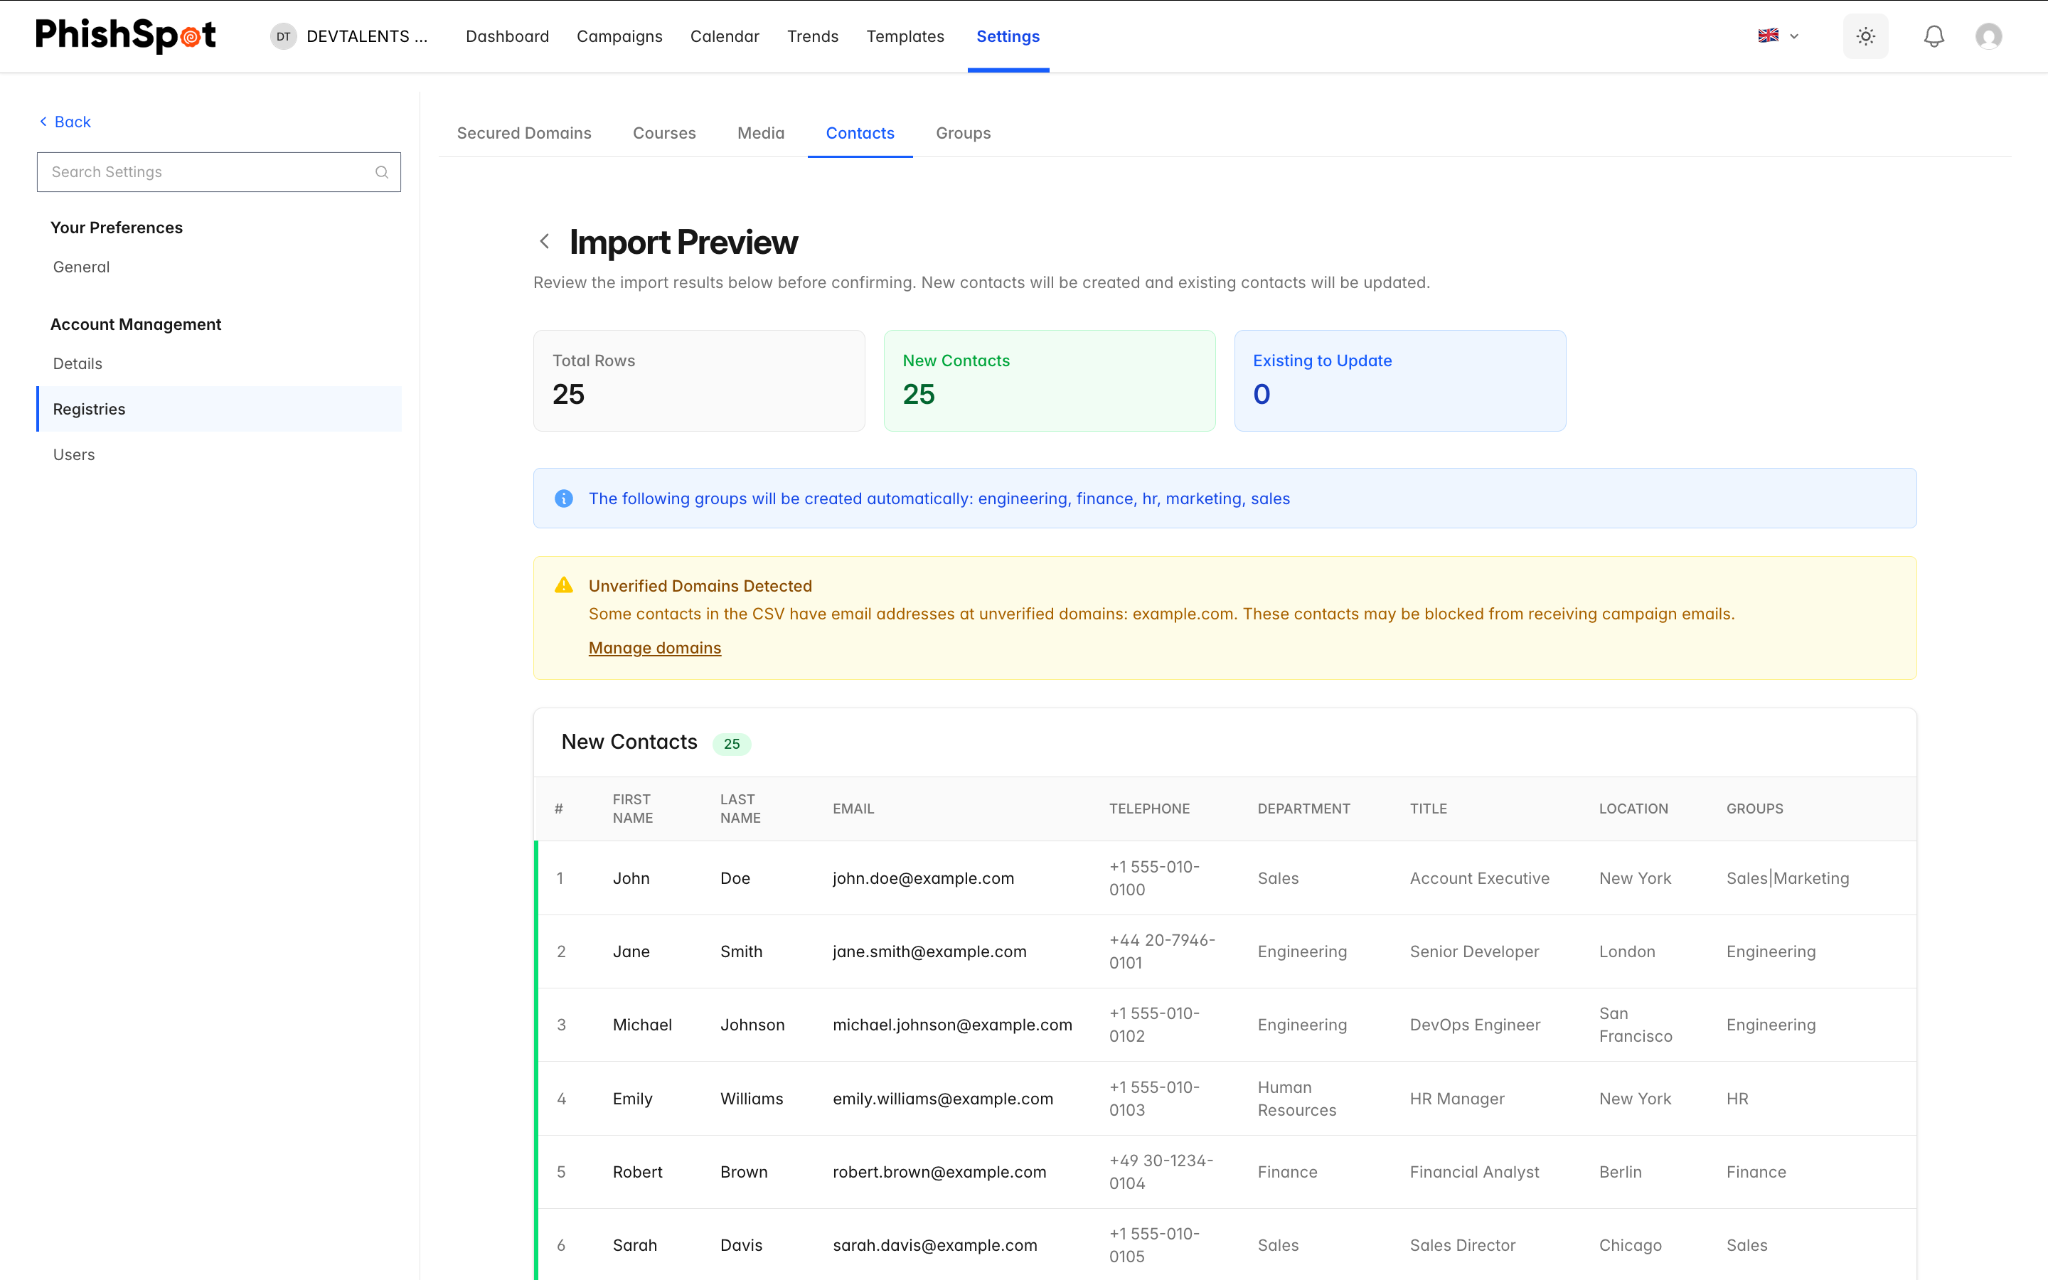
Section titled “5.4 Importing Contacts via CSV”For bulk import, PhishSpot supports CSV file uploads. The process has three stages:
-
Upload CSV — Click the Choose File button in the import section and select your CSV file. You can download a sample CSV first to see the expected format.
-
Preview — Review the parsed data before importing. The preview shows which columns were detected and any errors found.
-
Confirm — Click Confirm Import to create the contacts. If some rows fail, you can download a CSV of the failed rows to fix and re-import.
The required CSV columns are: first_name, last_name, email. Optional columns are: telephone, groups (comma-separated group names), department, title, location.
5.5 Contact Detail Page
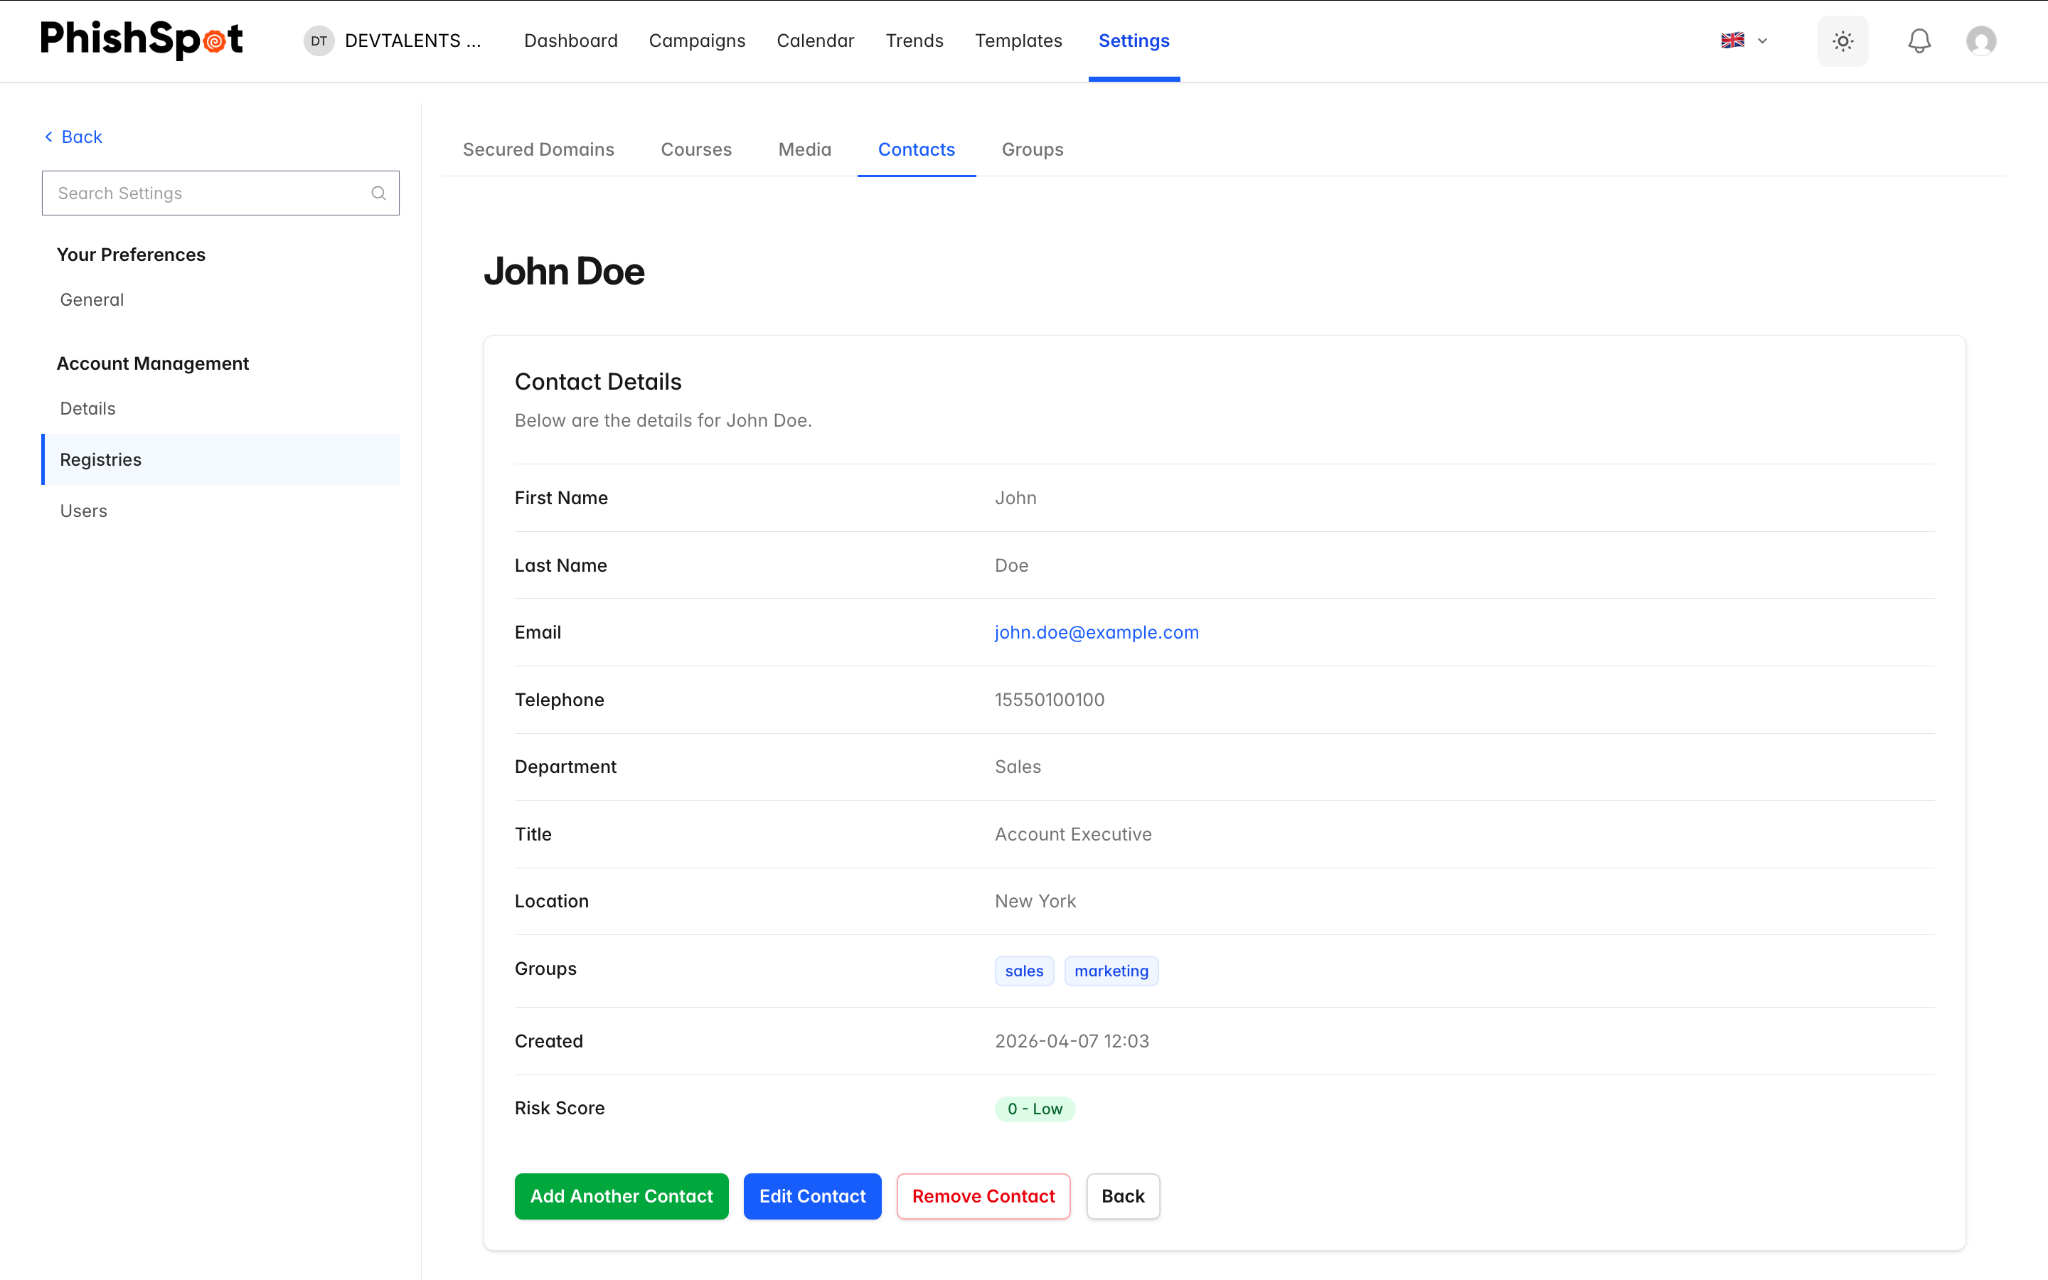
Section titled “5.5 Contact Detail Page”Click on any contact’s name to see their detail page. This shows their complete profile information, risk score, campaign history, and performance metrics showing how they responded to past campaigns.
5.6 Bulk operations
Section titled “5.6 Bulk operations”Each row in the contacts list has a checkbox at the far left. Select two or more rows and a bulk action bar appears at the bottom of the page showing the selection count and the available actions. Today the only bulk action is Delete — useful for cleaning up a stale import, removing a department that has left the company, or pruning test contacts.
The bar’s Delete button asks for confirmation before removing anything; the confirmation dialog tells you exactly how many contacts will be removed. Deleted contacts disappear from the list and from any groups they belonged to; their deliverable history is preserved on the campaigns they participated in so reports stay intact.